

Writing YAML and running pipeline
Date published:
This blog will show how to write a YAML file using the Azure DevOps pipeline with two examples. Azure Pipelines automatically builds and tests code in a source control repository like Git. It combines continuous integration (CI) and continuous delivery (CD) to test and build your code into a production environment. Microsoft Docs
A pipeline is from stages, jobs and tasks. Usually, an azure-pipelines yaml file is created at the root of your repo. Here is a video showing the basics of a pipeline. Key concepts for new Azure Pipelines
- Stages - This can contain several stages in a pipeline file
- Jobs - Each stage can have multiple jobs
- Steps - For each job, it can have a series of steps
Each pipeline has the following information.
- Name - This is the branch used
- Trigger - Manually, Branch or pipeline
- Pool - This is the agent (Microsoft hosts or self-hosted agent)
- Stages - Enabled continuous deployment/delivery
- Jobs - Can contain a pool
- Environment - Can contain security, resources, approval/check and tracks the deployment job
- Steps - showing steps for each job like previously described
- Tasks - This can be in the form of action
Example1-Displaying text
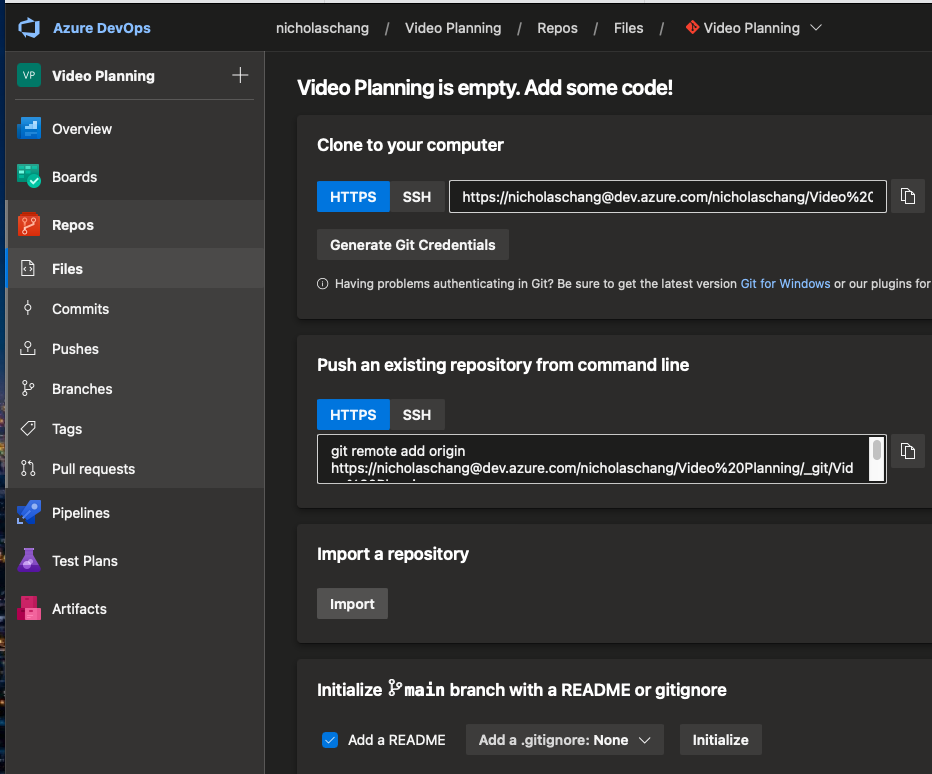
To get started with the first pipeline, you will need to import the Github URL https://github.com/nicholaschangIT/DevOpsMC and go to Part04CICD of the section for the pipeline file used. Go to the Azure DevOps portal and create a project, and under repo, click on the file, and select import a repository.
|
|
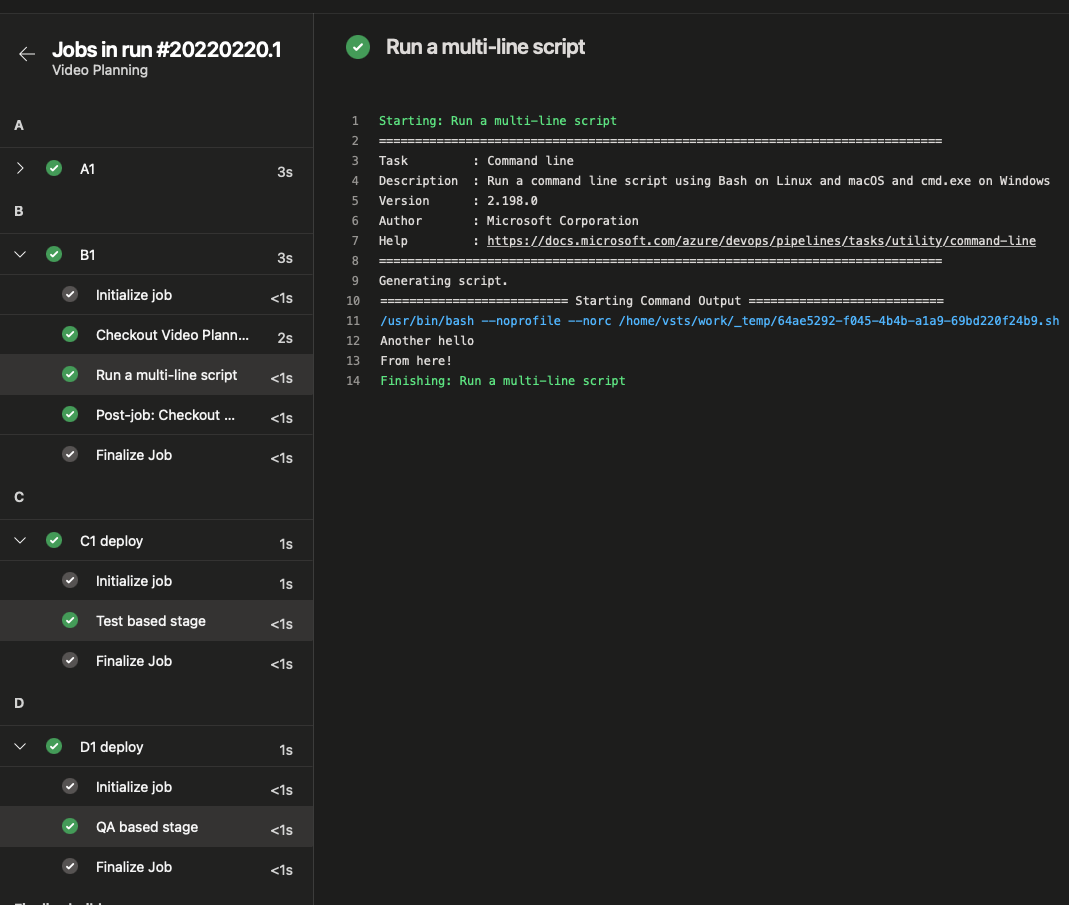
The stage will run in another environment called ‘D1 deploy’ with a step before showing the display name.
Before you run the pipeline, you will need to add two environments to your azure DevOps pipeline. When running the pipeline, both stages A and B are parallel to each other. Stage C will depend on both A and B stages.
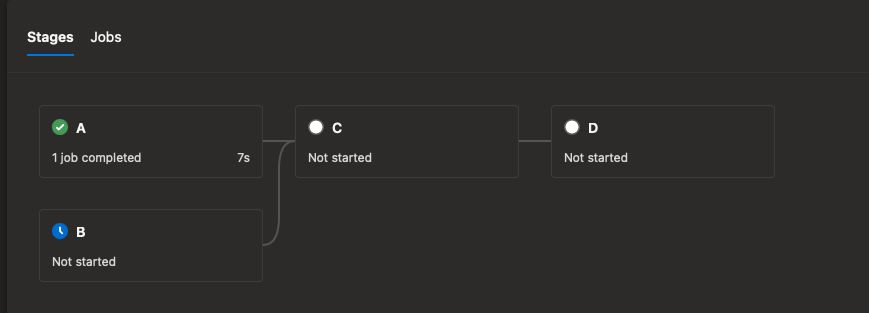
The above shows an overview of the pipeline completed.
Example 2 Building Python Application
In this second example, I will be deploying a Python sample application. Go to the pipeline tab, select Github repo as one of the repositories, and find your repo https://github.com/Microsoft/python-sample-vscode-flask-tutorial. I would recommend going to the link and forking the repo on your Github account.

In this stage, authenticate to Github and install the Azure pipeline. Click on Approve and install
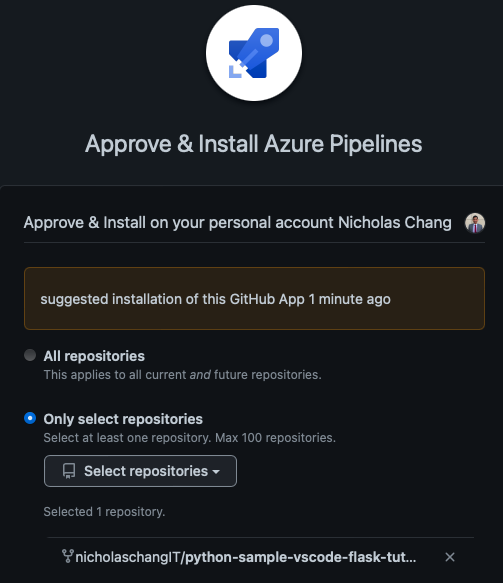
Once installed and completed, it will direct back to Azure DevOps, then clicks on the python package to start configuring your pipeline.

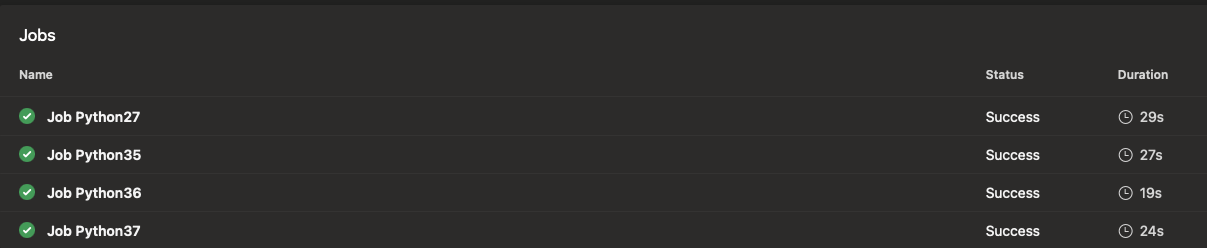
Review the yml file and change the python version 3.5 to 3.6 as the version reaches the end of life. Click on save and run to start building the pipeline.

Further reading